3D Scanning For Inspection
In Portfolio by AZOTH3D
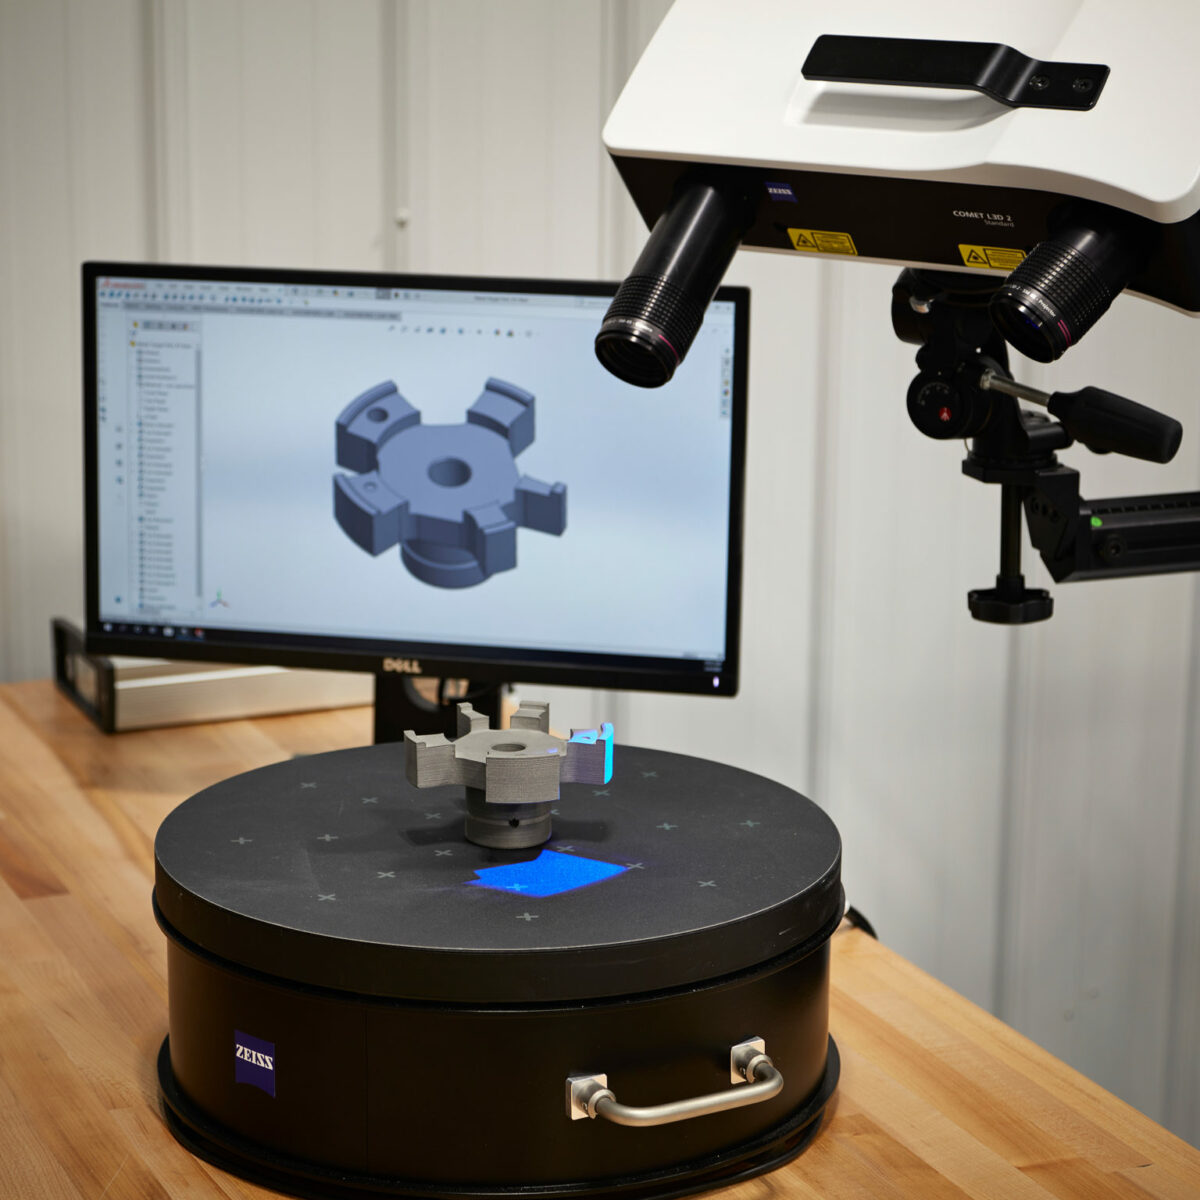
 3D Scanning for inspection is a powerful tool to inspect complex, one-off components. Azoth’s ensure quality parts are delivered using scanner accurate to +/- 5um. Rather than creating time-consuming CMM programs, Azoth can quickly scan the part and compare it against the CAD model. Outputs include traditional inspection reports and color maps to measure surface deviations.
 3D Scanning for inspection is a powerful tool to inspect complex, one-off components. Azoth’s ensure quality parts are delivered using scanner accurate to +/- 5um. Rather than creating time-consuming CMM programs, Azoth can quickly scan the part and compare it against the CAD model. Outputs include traditional inspection reports and color maps to measure surface deviations.
 3D Scanning for inspection is a powerful tool to inspect complex, one-off components. Azoth’s ensure quality parts are delivered using scanner accurate to +/- 5um. Rather than creating time-consuming CMM programs, Azoth can quickly scan the part and compare it against the CAD model. Outputs include traditional inspection reports and color maps to measure surface deviations.

3D Scanning for inspection is a powerful tool to inspect complex, one-off components. Azoth’s ensure quality parts are delivered using scanner accurate to +/- 5um. Rather than creating time-consuming CMM programs, Azoth can quickly scan the part and compare it against the CAD model. Outputs include traditional inspection reports and color maps to measure surface deviations.
